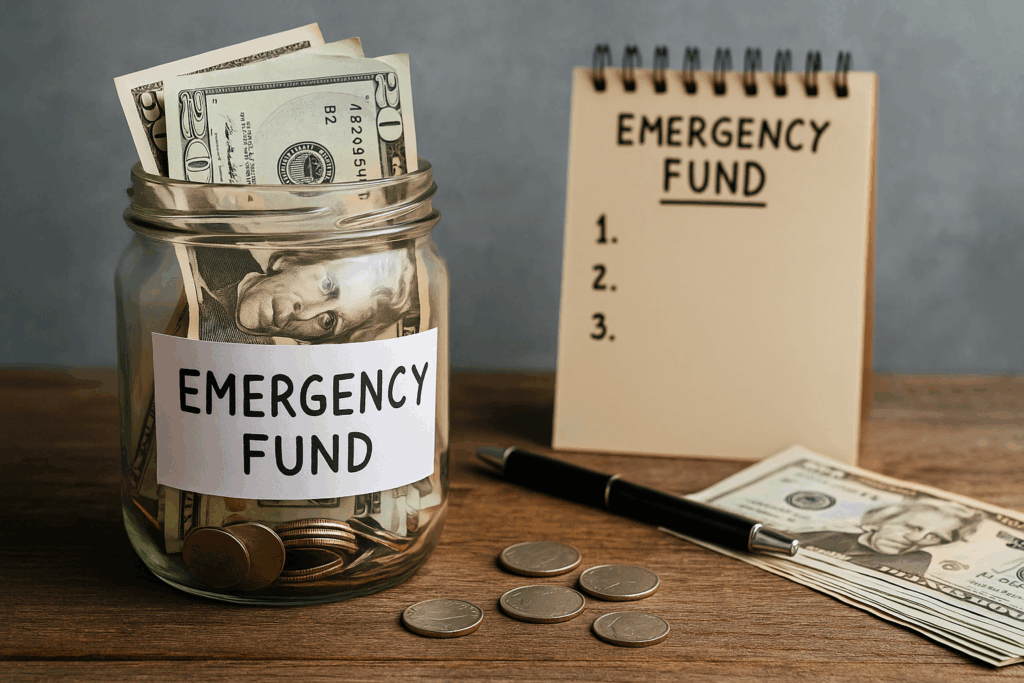
A financial safety net isn’t a luxury; it’s a necessity. In a world full of unexpected twists—from sudden job loss and major medical expenses to critical home or car repairs—an emergency fund is your primary defense. It’s the critical buffer that prevents a temporary setback from spiraling into a significant financial crisis and keeps you from falling into high-interest debt.
This comprehensive guide will break down the process of building a robust emergency fund into clear, actionable steps, moving you from financial vulnerability to lasting peace of mind.
Phase 1: Preparation and Goal Setting
Before you can start saving effectively, you need a precise target and a clear understanding of your current financial landscape.
Step 1: Define What an Emergency Is (and Isn’t)
The cardinal rule of emergency funds is to only use it for true, unexpected emergencies. A true emergency is an event that is:
- Necessary: Your life or financial stability is significantly jeopardized if the expense isn’t covered (e.g., a burst pipe, emergency root canal, job loss).
- Immediate: It requires urgent attention and cannot be postponed.
- Unforeseen: It was not a planned or foreseeable expense (e.g., a sudden car breakdown, not a planned vacation).
Non-emergencies include things like a minor home upgrade, an impulse purchase, or a holiday sale. Resist the urge to dip into this fund for anything that isn’t a critical, unexpected need.
Step 2: Calculate Your Target Amount
The standard rule of thumb for a fully funded emergency fund is to save three to six months’ worth of essential living expenses. However, the right number for you depends on your personal circumstances:
- Three Months: A good target if you have a very stable job, dual income in the household, and no major debts (like a mortgage).
- Six Months: Recommended for most people. It offers a solid cushion against longer periods of job searching or recovery from a major event.
- Nine to Twelve Months: Aim for this if you are self-employed, have an irregular or commission-based income, or are the sole earner in your household.
To calculate your target, total your essential monthly expenses. These are the costs you absolutely cannot avoid:
- Rent or Mortgage Payment
- Utilities (electric, water, gas)
- Basic Groceries
- Essential Transportation (gas, bus pass)
- Minimum Debt Payments
- Insurance Premiums
Do not include discretionary expenses like entertainment, dining out, or non-essential subscriptions in this core number. Multiply this essential monthly total by your target (3, 6, 9, or 12) to get your final savings goal.
Step 3: Set a Starter Fund Goal
If your final goal is $15,000, that number can be daunting. To build momentum and provide immediate relief, set a Starter Emergency Fund goal of $500 to $1,000. This smaller, achievable amount is enough to cover most minor emergencies (a flat tire, a small insurance deductible, an urgent care visit) and provides a powerful psychological win that fuels you toward the full goal.
Phase 2: Execution and Acceleration
With a clear goal in sight, it’s time to implement the strategies that will build your fund quickly and consistently.
Step 4: Open a Dedicated, High-Yield Account
Where you keep your money is just as important as how much you save. Your emergency fund must meet two criteria: safety and liquidity.
- Safety: The money must be protected from market risk. This immediately rules out investing it in stocks or mutual funds. Look for accounts that are FDIC-insured (or NCUA-insured for credit unions).
- Liquidity: You must be able to access the money quickly—ideally within 24 hours—without penalty. This rules out accounts like long-term Certificates of Deposit (CDs).
The best home for your emergency fund is a High-Yield Savings Account (HYSA). HYSAs offer:
- Competitive Interest Rates: Significantly higher than traditional brick-and-mortar savings accounts, allowing your money to grow passively and better keep pace with inflation.
- Easy Access: Funds can be easily transferred to your checking account when an emergency hits.
- Separation: Crucially, keep this account separate from your regular checking account. This “out of sight, out of mind” strategy reduces the temptation to spend it on non-emergencies.
Step 5: Automate Your Savings
Willpower is unreliable. Automation is your most powerful tool. Treat your emergency fund contribution like a non-negotiable bill you must pay every month—the bill is to yourself.
Set up an automatic transfer from your checking account to your dedicated HYSA to occur on the day you get paid, or the day after. Even a small, consistent amount is better than a large, inconsistent one. By automating the process, you ensure that money is set aside before you even have a chance to budget or spend it elsewhere.
Step 6: Slash Expenses and Boost Income
To turbocharge your savings, you need to create a temporary, intense focus on maximizing your cash flow.
Cut the Fat from Your Budget:
- Audit Subscriptions: Cancel any streaming services, gym memberships, or app subscriptions you rarely use.
- Reduce Dining Out: Commit to cooking all meals at home for a month or two.
- Negotiate Bills: Call your internet, cable, or cell phone provider to ask for a lower rate or a cheaper plan.
- Temporary Sacrifices: Be willing to make significant, temporary cuts to discretionary spending (shopping, entertainment) until your fund is fully stocked.
Embrace Windfalls and Side Hustles:
- Windfalls: Dedicate 100% of any unexpected lump sums—tax refunds, work bonuses, or cash gifts—directly to your emergency fund. This can often get you to your goal faster than months of smaller contributions.
- Side Hustle Income: Consider temporarily taking on a side job, freelancing, or selling unused items around your home. Funnel every penny of this extra income into your savings account.
Step 7: Address High-Interest Debt Simultaneously
If you are carrying high-interest debt (like credit card debt with an APR above 10%), you face a dilemma: save or pay down debt?
The consensus among financial experts is to first achieve your Starter Emergency Fund ($500-$1,000). Once you have this small buffer, you can aggressively focus on paying down your high-interest debt. The interest you save will often far outweigh the interest you earn in your savings account. By tackling debt, you are effectively “saving” money on future interest payments, thus freeing up more cash flow to build your full emergency fund once the high-interest debt is gone.
Phase 3: Maintenance and Replenishment
Building the fund is a one-time process; maintaining it is a lifelong habit.
Step 8: Define Your Replenishment Plan
If a true emergency occurs and you need to tap your fund, you must have a plan to rebuild it. As soon as the immediate crisis is over, your savings focus should immediately shift back to replenishing the emergency fund.
Treat the amount you withdrew as your new, short-term debt to yourself. Recalibrate your budget, re-implement your automatic transfers, and dedicate any new windfalls until the fund is back to its target level (e.g., six months of expenses).
Step 9: Review and Adjust Your Goal
Your essential expenses change as your life evolves. Getting a new job, moving to a higher-cost area, or having a child are all reasons to re-evaluate your emergency fund’s target size. Schedule a financial check-up at least once a year to ensure your fund is still adequate for your current financial obligations and life stage.
Building a strong emergency fund is a marathon, not a sprint. It demands discipline, but the reward is unparalleled: the peace of mind that comes from knowing you are prepared for whatever life throws your way, protecting your financial future and long-term goals.
Do you know what your essential monthly expenses total? That’s the perfect place to start your journey to a stronger financial safety net.


